

Setup Guide - Entra ID App Registration
I have written a PowerShell script which you can run in your primary tenant to create the app reg and output the ID and secret (generated at random).
If you want to use this, you can download it here
If you would rather configure it yourself, follow these instructions:
Navigate to Entra ID and click App Registrations, then create a new Application
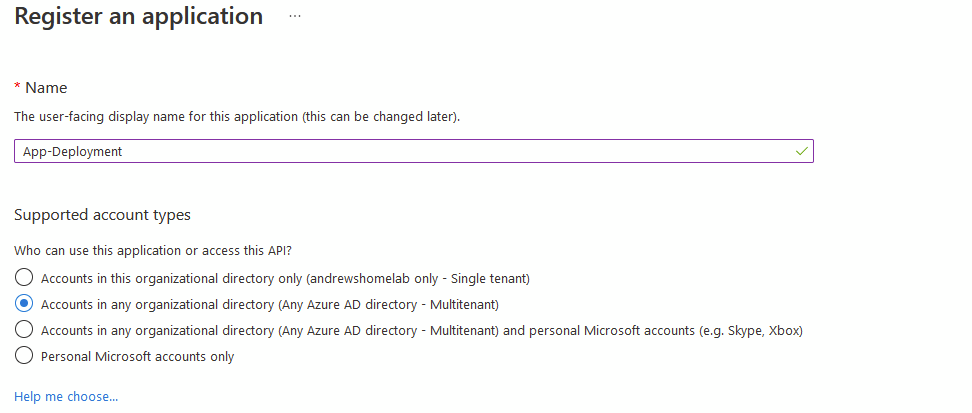
Give your application a name you will recognise and select Multi-Tenant, then click Register
Grab the Application (Client ID) from the Overview screen
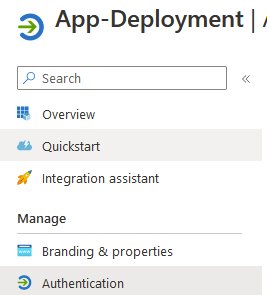
Now click Authentication
Click Add Platform
You want Mobile or Desktop Application
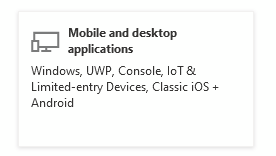
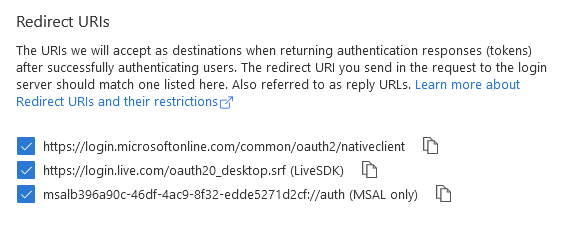
Tick the 3 boxes and click Configure
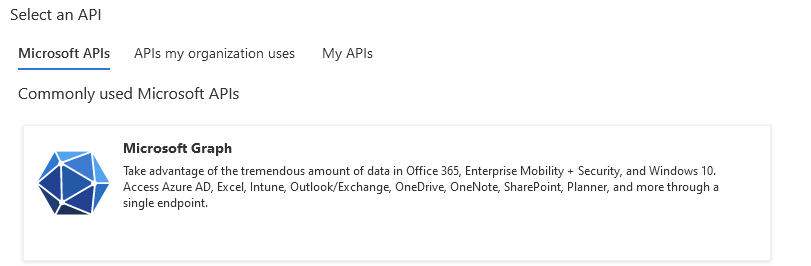
Next, select API Permissions and click Add a Permission
Select Microsoft Graph
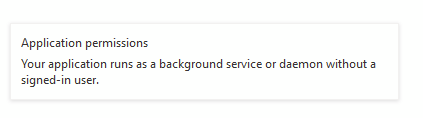
Select Application Permissions
Add these:
- AppCatalog.ReadWrite.All
- DeviceManagementApps.ReadWrite.All
- DeviceManagementConfiguration.ReadWrite.All
- DeviceManagementManagedDevices.ReadWrite.All
- DeviceManagementRBAC.ReadWrite.All
- DeviceManagementServiceConfig.ReadWrite.All
- Directory.ReadWrite.All
- Domain.ReadWrite.All
- Group.ReadWrite.All
- GroupMember.ReadWrite.All
- Policy.Read.All
- Policy.ReadWrite.ConditionalAccess
- Policy.ReadWrite.PermissionGrant
- Policy.ReadWrite.SecurityDefaults
- RoleManagement.ReadWrite.Directory
- CloudPC.ReadWrite.All
- AuditLog.Read.All
- Mail.Send
You'll see it's still not finished, you need to click Grant admin consent

Last step here, click Certificates & secrets
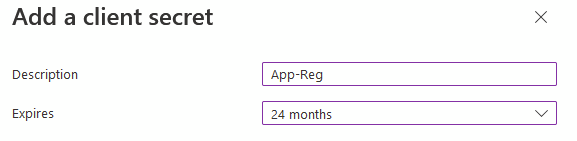
Add a new secret

Add a name you'll remember and set an expiry (I'm using 24 months because I'm lazy)
Copy the Secret Value somewhere safe, it won't re-display it and if you lose it you'll need to create a new one
Now you just need to create your Azure Devops/GitHub Repository